How to setup your local environment to develop custom Apps
Building an App starts with the environment setup. There are a plenty of libraries, tools, languages which you can choose to build your app. The API library can be used with any of them and below is an example of a simple environment.
After a set of questions this will create a package.json file that contains meta data about your app and it includes the list of dependencies to install from npm when running npm install. package.json will look similar to this:
Next we need to jQuery and the LViS libraries to our app. Our API can be retrieved from Monterosa's private npm registry. Make sure you have npm installed version 6 or greater.
Obtaining npm registry account
To obtain Monterosa's npm registry account please write request to support@monterosa.co.uk
Log into Monterosa' registry with existing account credentials:
var gulp =require('gulp'), filter =require('gulp-filter'), concat =require('gulp-concat'), template =require('gulp-template'), less =require('gulp-less'), stylish =require('jshint-stylish');/* * Read package file * Some variables are taken from this file */var pkg =JSON.parse(fs.readFileSync('package.json'));gulp.task('watch',function () {gulp.watch('src/html/**/*.html', ['copy:html']);gulp.watch('src/config/**/*', ['copy:config']);gulp.watch('src/images/*', ['copy:images']);gulp.watch('src/styles/*', ['styles']);gulp.watch('src/js/**/*.js', ['scripts'] );});gulp.task('copy', ['copy:html','copy:config','copy:images']);gulp.task('default', ['copy','styles','scripts','watch']);
/* * Builds scripts. * * Feel free to use any superset of JS: TypeScript, CoffeeScript, etc. */gulp.task('scripts',function() {var nodeModules = ['node_modules/jquery/dist/jquery.js','node_modules/lvis-api/lvis.js' ];var scripts = ['src/js/**/*.js' ]// Librariesgulp.src(nodeModules).pipe(concat('lib.js')).pipe(gulp.dest('dist/assets/js/'));// Scriptsgulp.src(scripts).pipe(concat('main.js' )).pipe(gulp.dest('dist/assets/js'));});
/* * This task builds styles. * * We've chosen LESS preprocessor for you. * But you free to set up any preprocessor of your choice: scss/compass, * stylus, autoprefixer, etc. */gulp.task('styles',function() {returngulp.src('src/styles/main.less').pipe(less()).pipe(gulp.dest('dist/assets/styles'));});
Once all tasks are set run $ gulp command which runs initial build and leave watcher running to watch all changes within src/* folder and once any it will re-run necessary task to build the part of your app again.
Local server and tunnelling
In order to distribute the app and set up it within Studio you need to make your app available on the Internet. For development purposes we suggest you run a simple local server and tunnelling its response.
var gulp =require('gulp'), connect =require('gulp-connect'), localtunnel =require('localtunnel'); modrewrite =require('connect-modrewrite');/* * Read package file * Some variables are taken from this file */var pkg =JSON.parse(fs.readFileSync('package.json'));/* * Runs HTTP server using middleware `modrewrite` plugins. * Node's modrewrite plugin works exactly as Apache's mod_rewrite module * Here we proxy all requests from /<pkg_name>/<version>/* to /*. */gulp.task('connect',function() {connect.server({ root:'dist', port:'8080',middleware:function () {return [modrewrite(['^/'+pkg.name +'/.*?/(.*)$ /$1 [L]' ]) ]; } });});
/* * Exposes local HTTP server to the public. * Your web page will be available at //<pkgname>.localtunnel.me */gulp.task('localtunnel',function () {var tunnel =localtunnel(8080, {subdomain:pkg.name},function(err, tunnel) {if (err) {util.log(err.toString()); } else {util.log('Assigned public url: '+tunnel.url); } });});
Extend default task and include connect task in it:
Now you have everything up and you can proceed with your app.
Setting up your production app
Note that to setup your app as a fully installed App from within Studio, please contact your account manager or support.
Deploy to Production
Because the App build contains only static files (html, js, css, images, etc..) it can be just simply copied to any CDN and distribute from it. For example lets try to upload our app on Amazon S3.
First of all lets add Gulp S3 module
$ npm install gulp-s3 --save-dev
Create upload task:
var gulp =require('gulp'), s3 =require('gulp-s3');var pkg =JSON.parse(fs.readFileSync('package.json'));// Amazon S3 credentials// They are not real, you have to obtain your own credentialsvar credentials = {"key":"GYSCH4ASAYAKIAEK5P","secret":"ySiwtWWsOtlhlBMrV2M7yYjIzo2sYTtIy6qQ5qB6","bucket":"lvis-apps","region":"eu-west-1"};var opts = { delay:500, uploadPath:'my-super-app/'+pkg.version +'/', gzippedOnly:true};gulp.task('upload',function () {returngulp.src('dist/**').pipe(s3(credentials, opts));});
Once you run command $ gulp upload all files from 'dist/*' folder will be uploaded to Amazon CDN under the /my-super-app/<version>/ folder. After that you can add register or update (if it was previously added to LViS Studio) your application.
Registering with Studio
After you uploaded your app it will be available under //<host>/<name>/<version>/ URL. And now we are ready to register it with Studio.
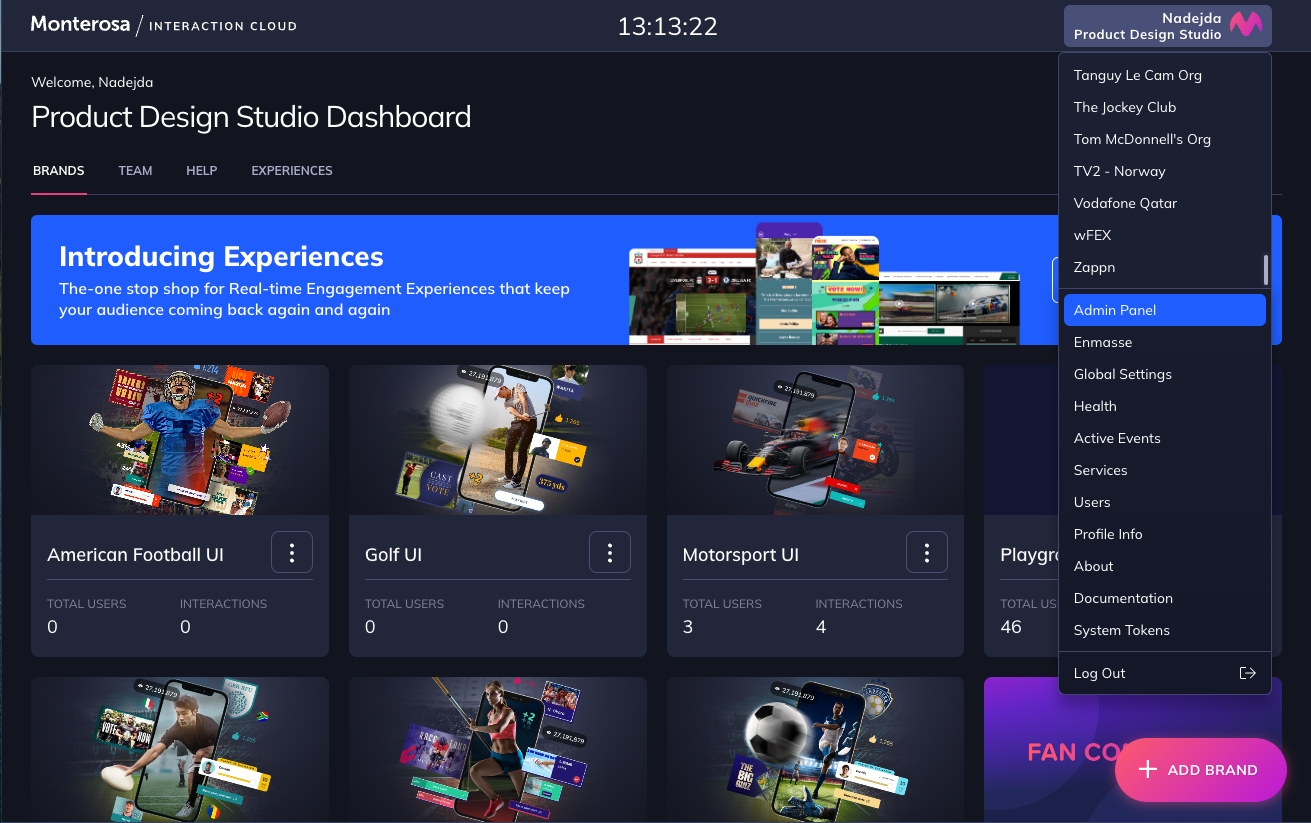
To do that you need to go to Admin panel section under User menu.
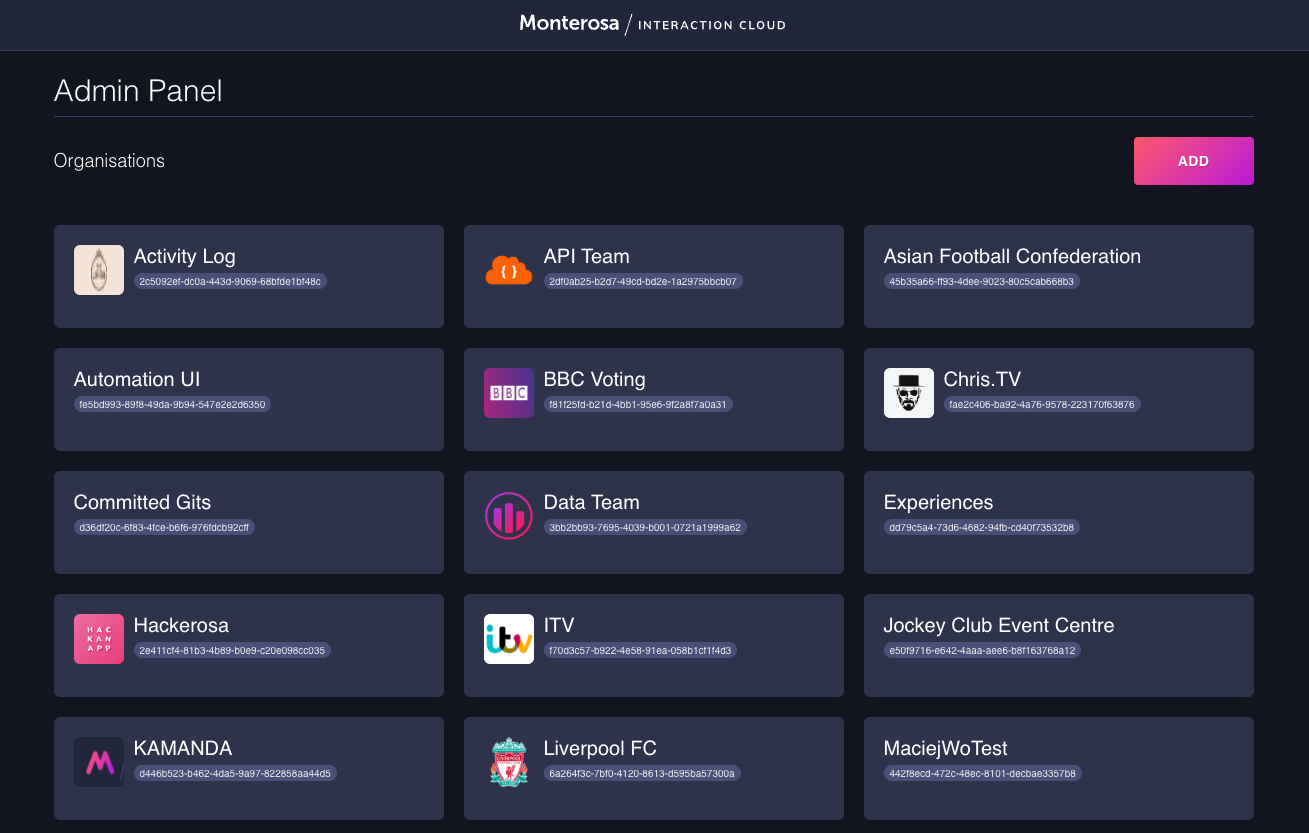
Choose your Organisation from the list and open it:
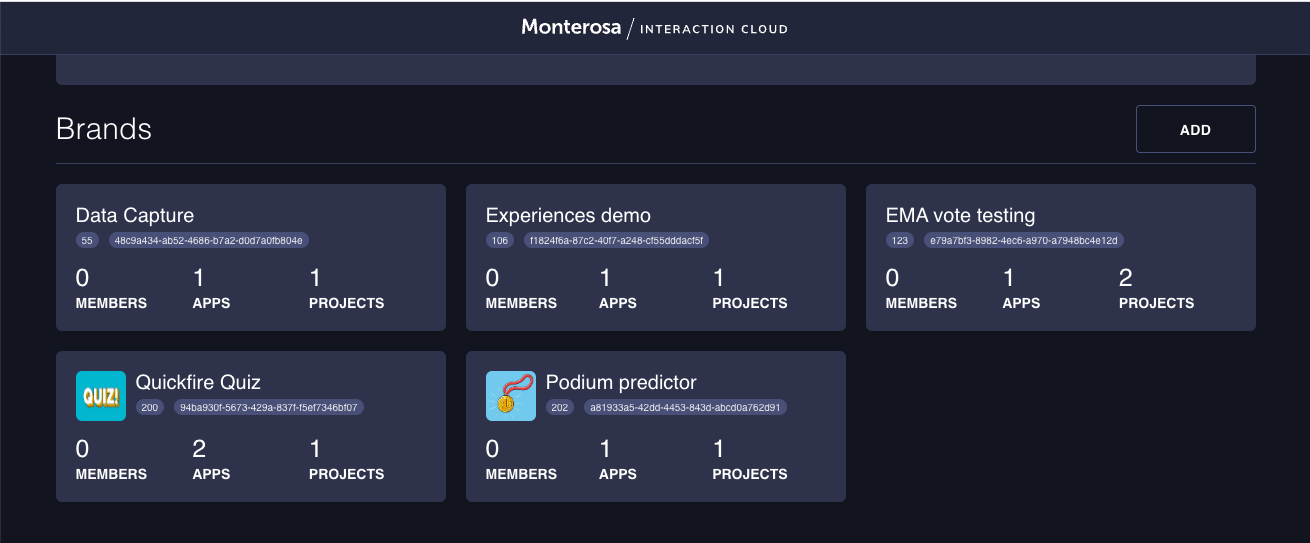
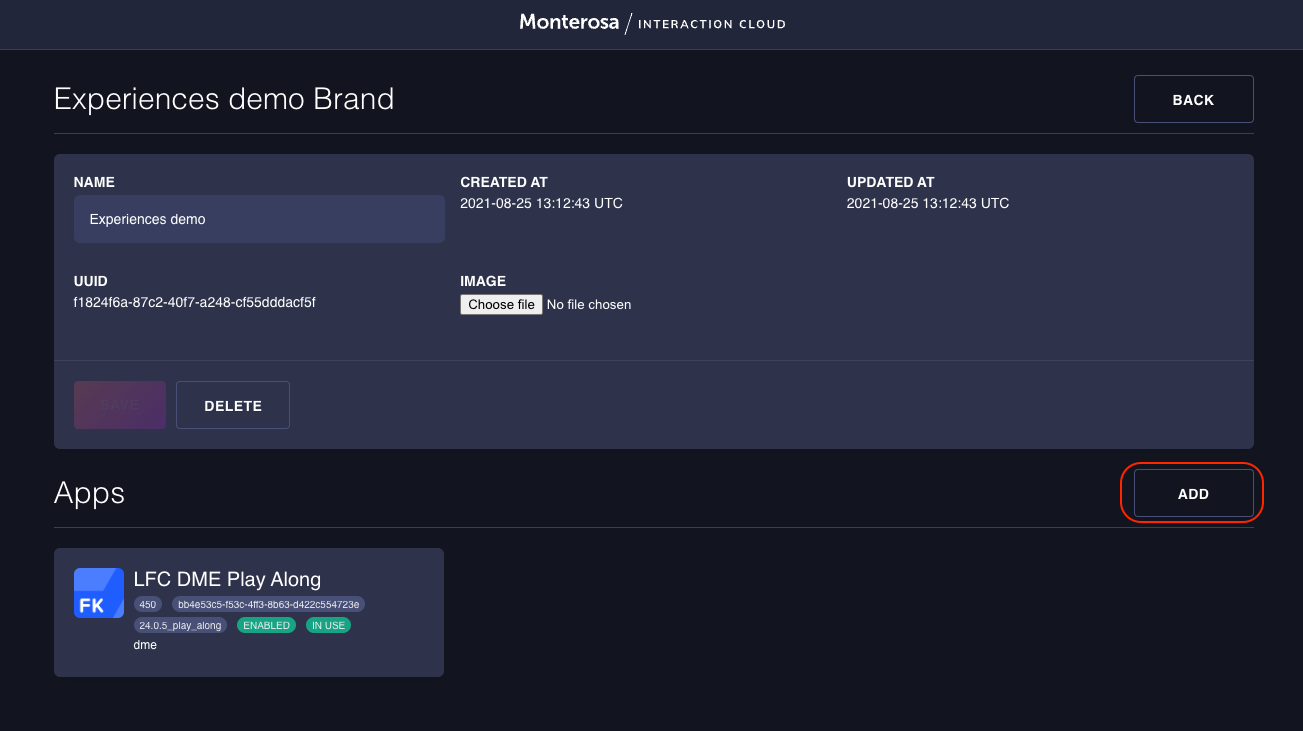
Add a Brand or select an existing one:
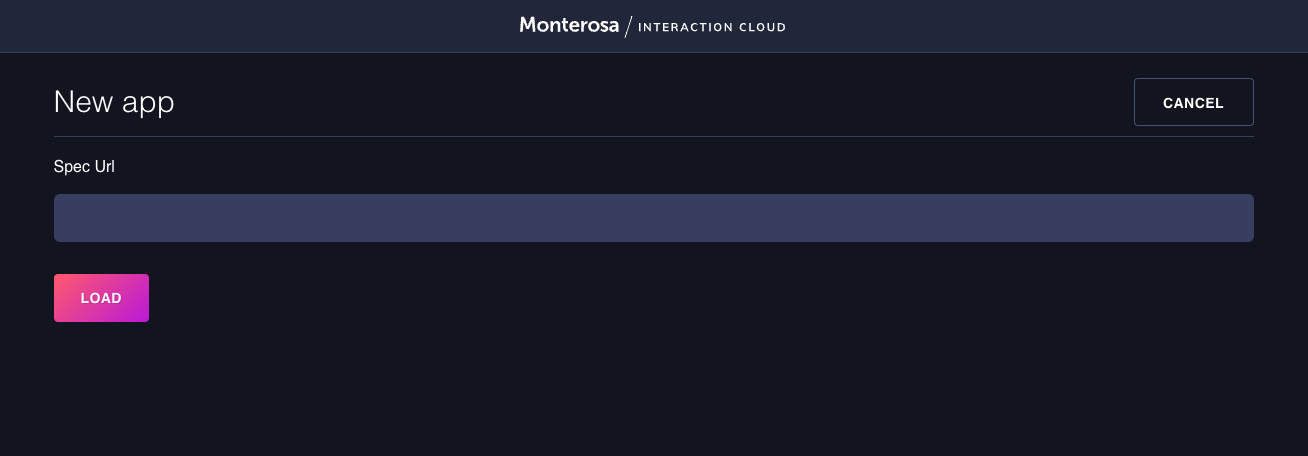
Click Add button and provide link to an App Spec file.
Click Add button and provide link to an App Spec file
If the App Spec is valid, the App will be registered with Studio and you will be able to create a new Project within the platform using your App.