Element Configuration
When setting up Elements within Studio there are several options you have to get the User experience to be exactly how you want it.
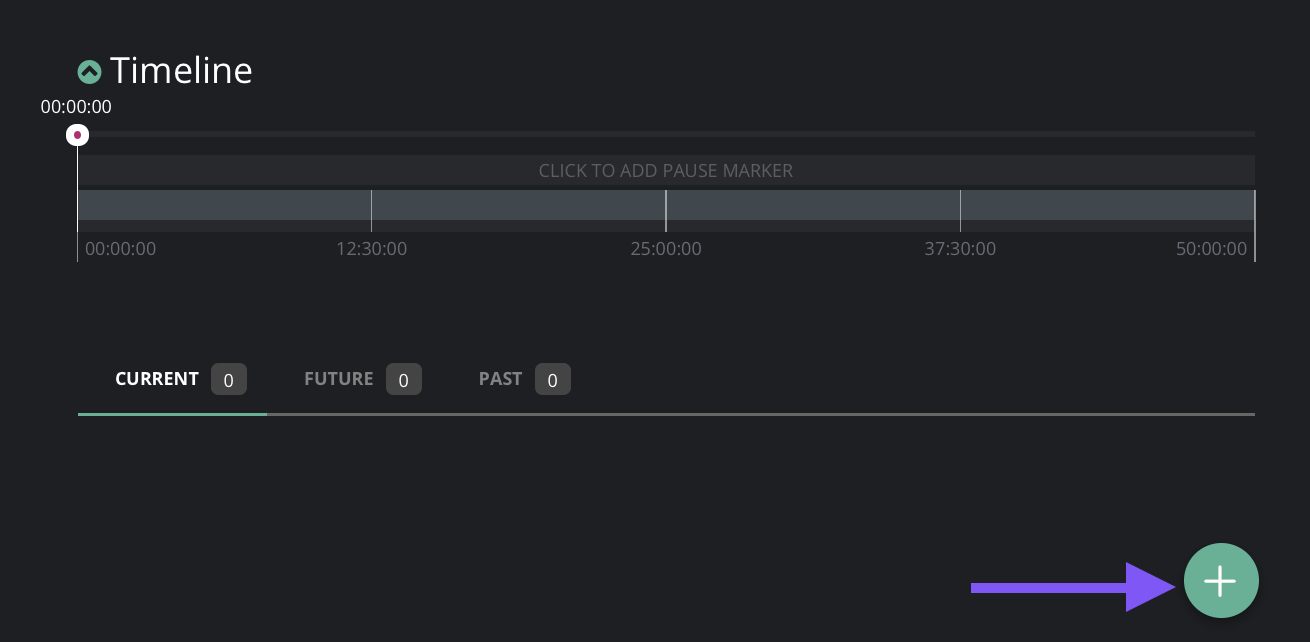
Adding an Element to the Timeline
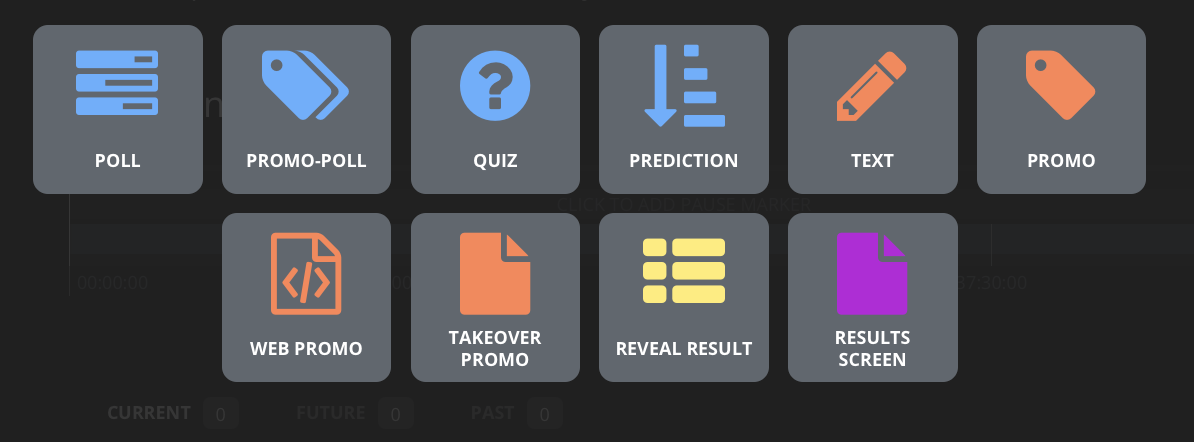
The number and types of Elements you can see is dependent on the versions you have
Once an Element is selected you must configure a number of settings, some of which are general and others specific to each Element.
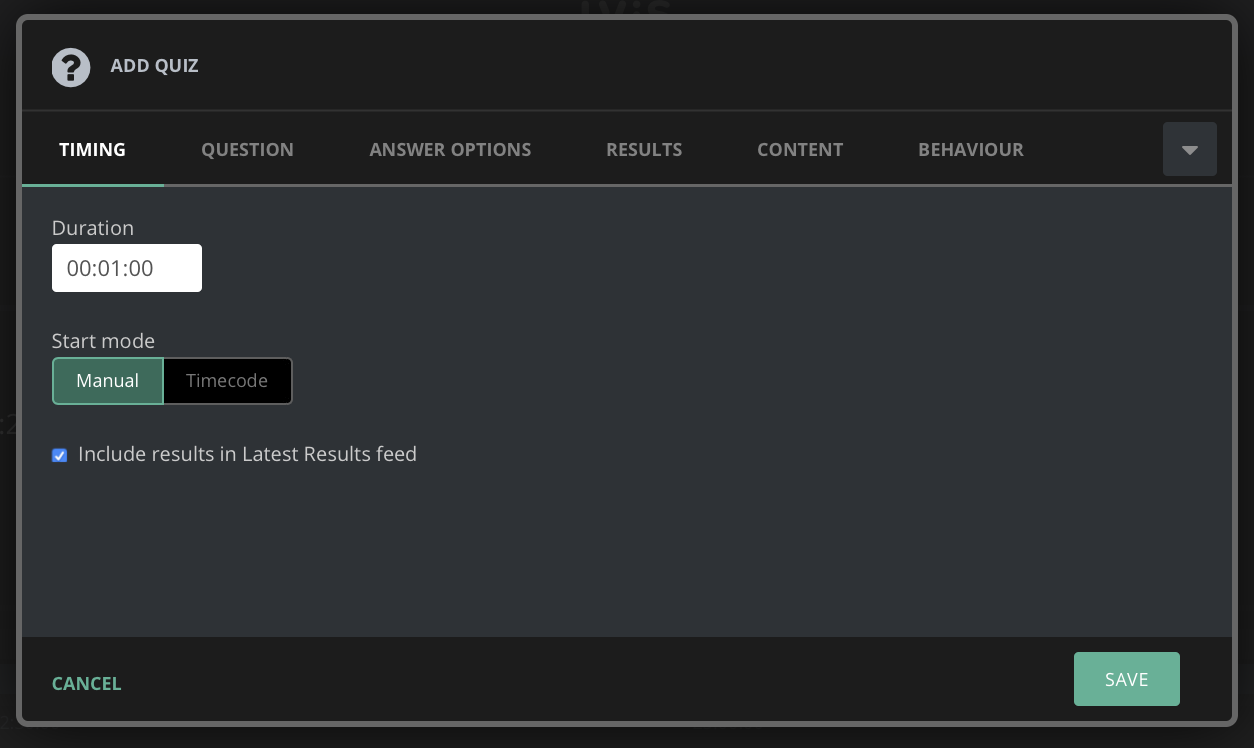
Duration: How long the Element will appear on the users screen and how long they can interact with it
Start mode: Using the Timecode setting means you can have the Element appear at a specifc point within the event without manually intervention. This is especially key for on-demand content where the Timeline of the event is synced with the video timeline. Using Manual here will save the Element in your "Live library" where you can manually publish at any moment while the event is live.
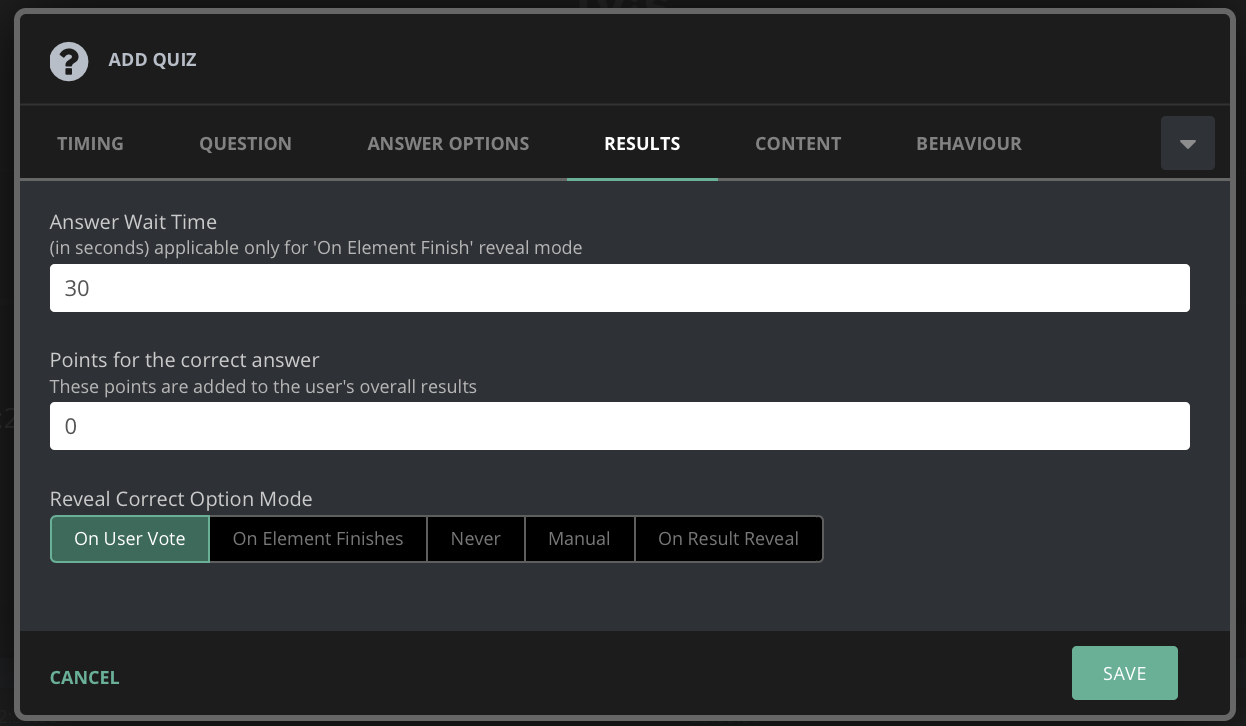
Include results in Latest Results feed: This publishes the results of the Element i.e how many people selected which answer, to the results API endpoint
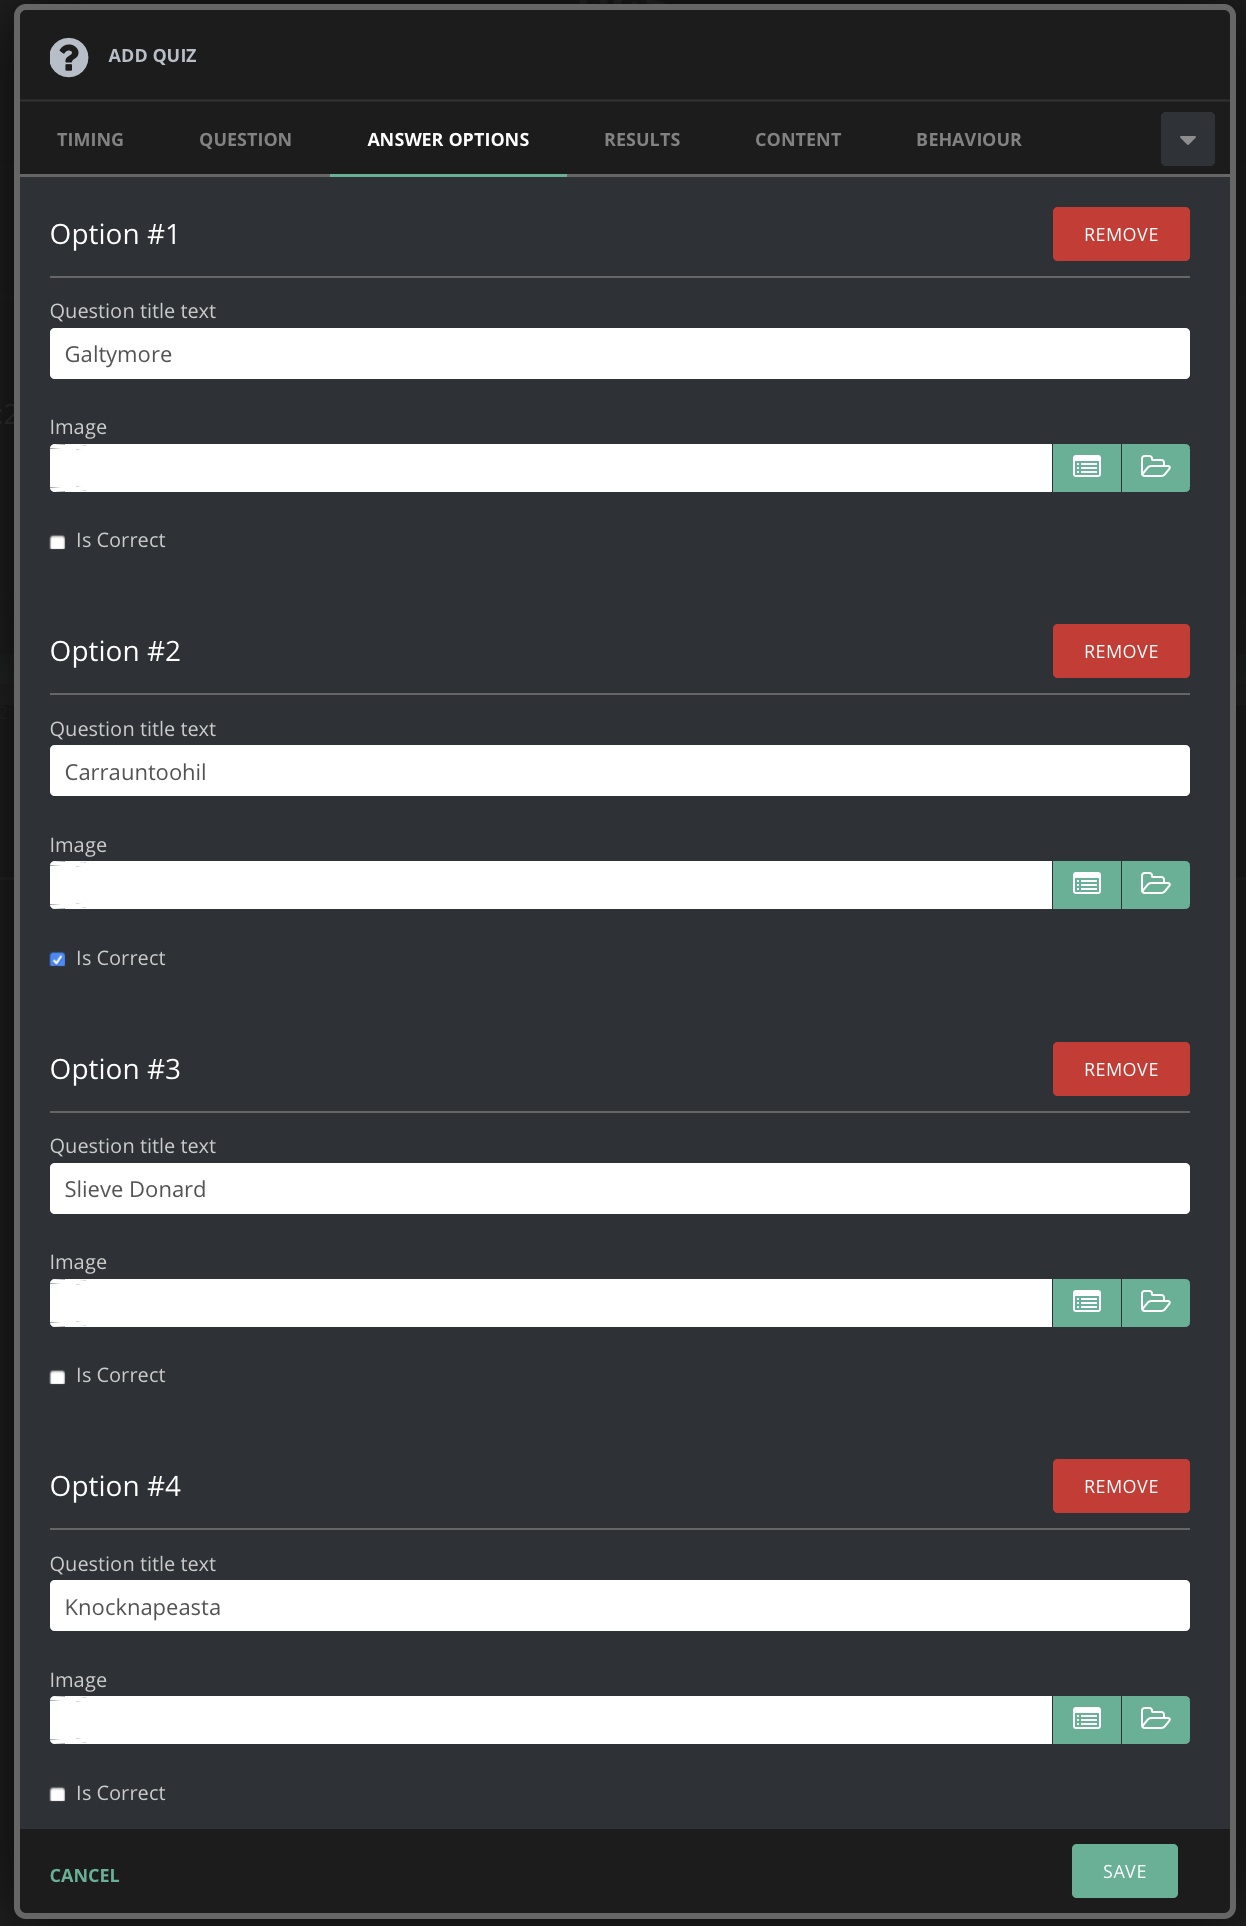
Here is an example Element (A Quiz question) with all of its specific data:
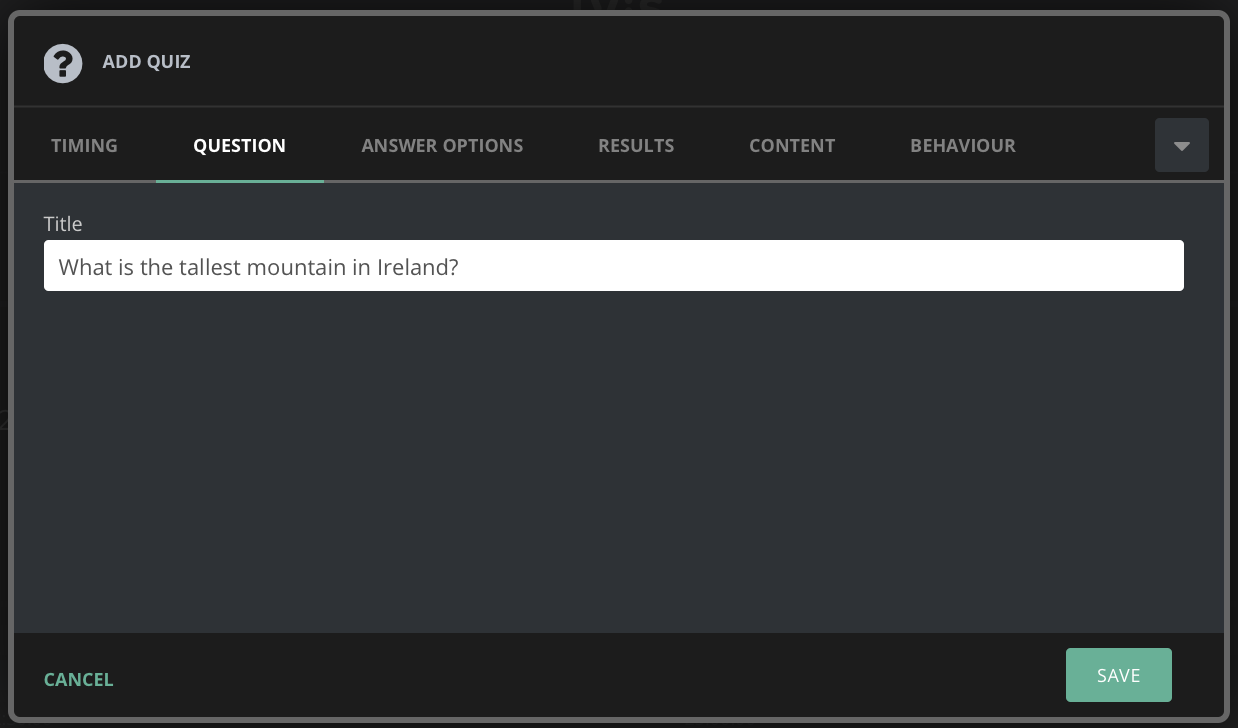
Simply enter the user facing question for the quiz Element here.
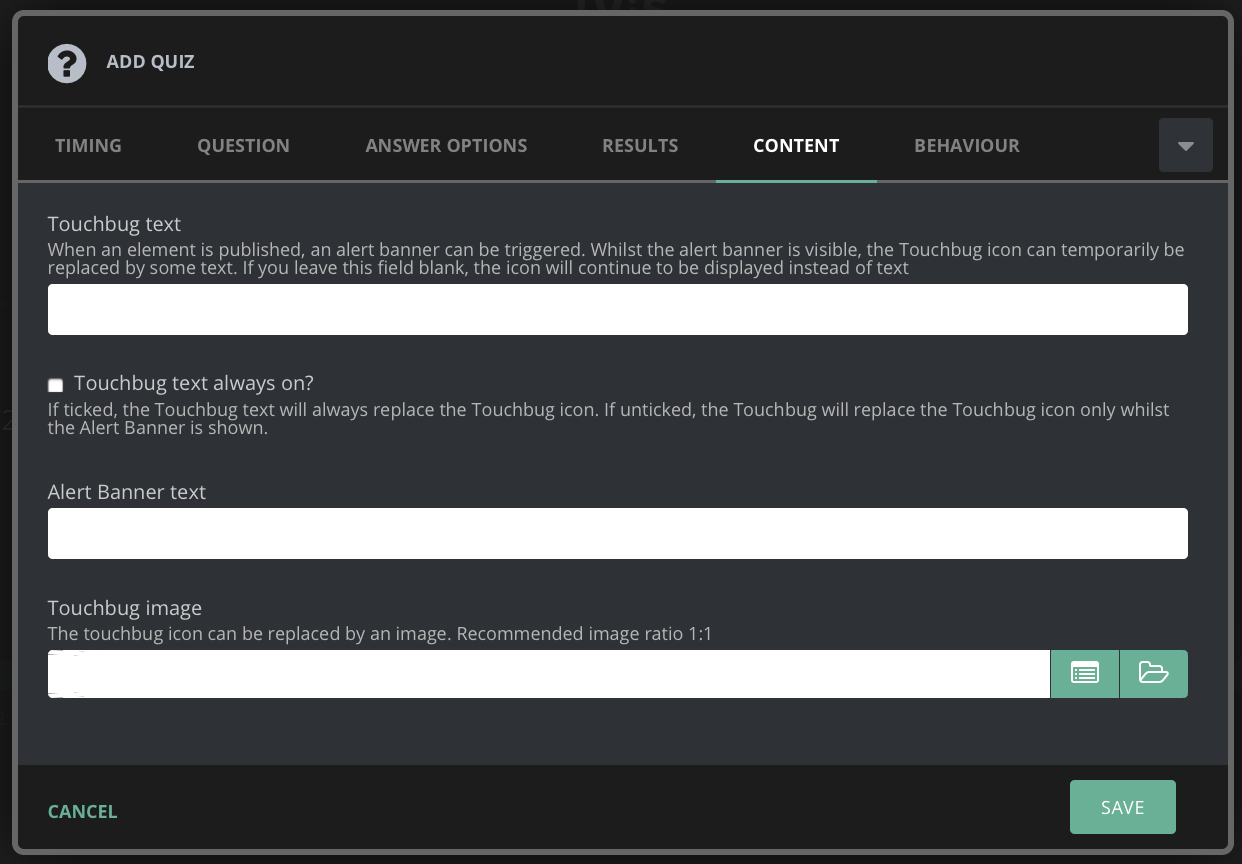
Setting up the TouchBug
In the content tab you can find all the settings you need to set up your user interact-able TouchBug
The Alert Banner text is an optional banner that slides out of the TouchBug temporarily to inform the user that something new has been published.
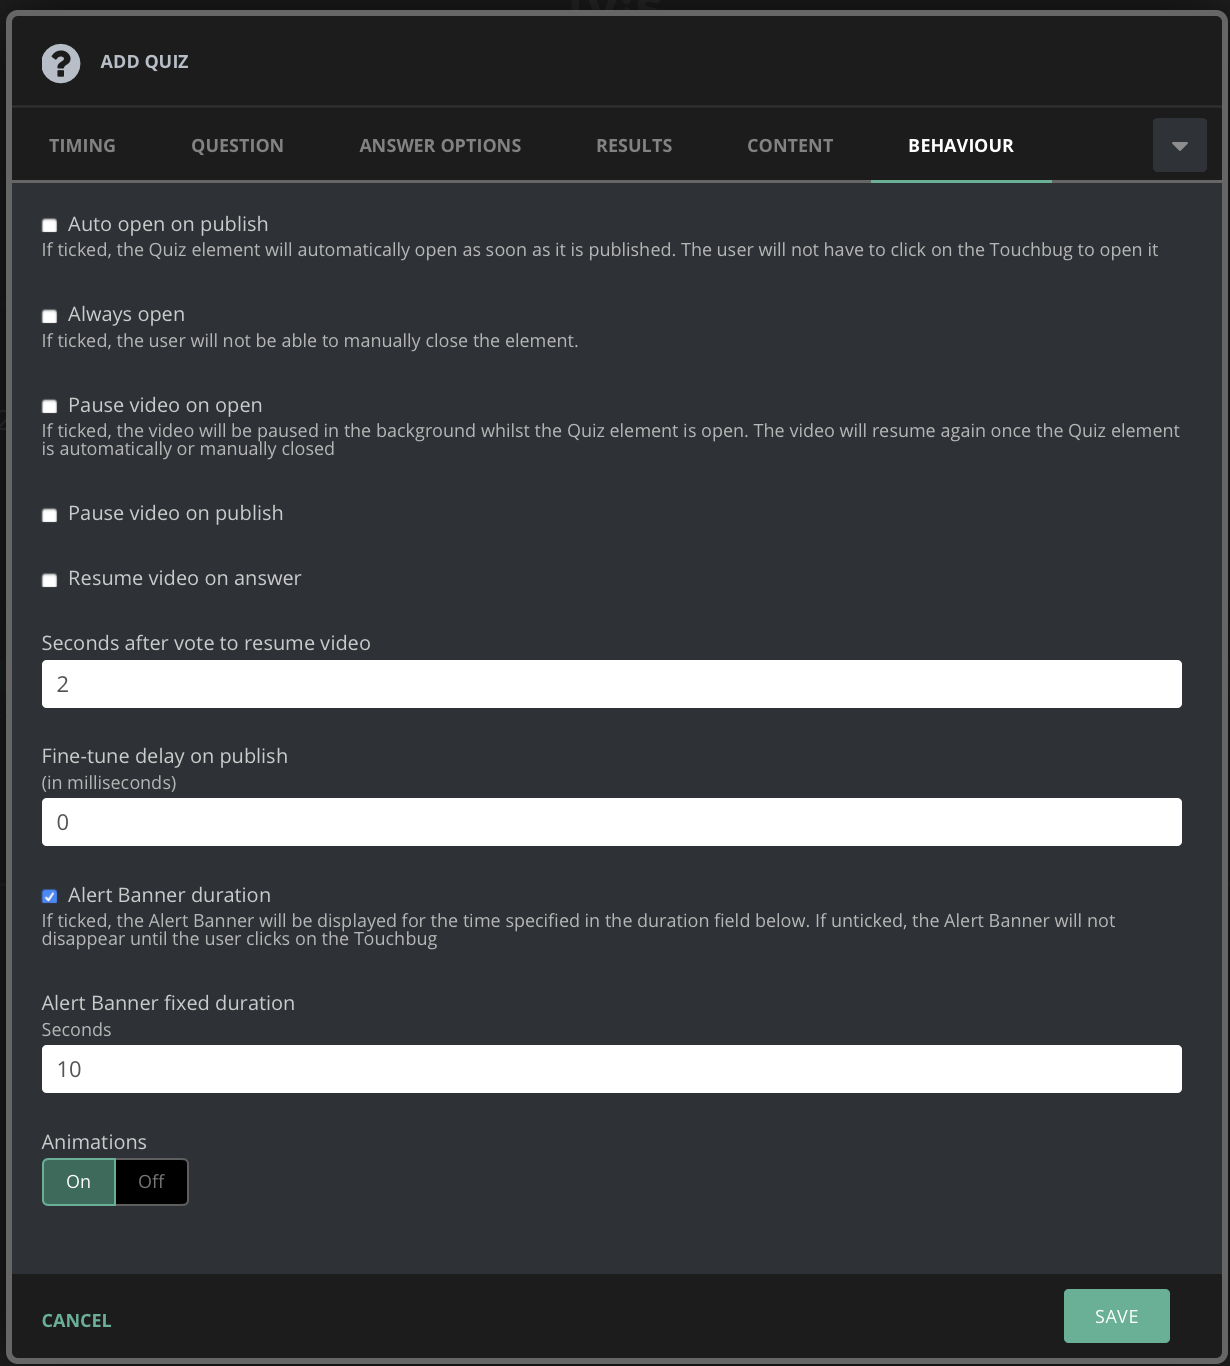
Element Behaviour
Auto open on publish: As soon as the Element is published on the timeline and appears in Player Layer it opens and skips the TouchBug step
Always open: This prevents the user user from dismissing the Element back into the TouchBug forceing it to stay open once its opened (either automatically or by the user)
Pause video on open: Once the Element is open (either automatically or by the user) the video is paused. (you can configure your player so the user can't resume it manually if required)
Pause video on publish: This pauses the video on publish no matter if the Element is open or not.
Resume video on answer: When he user has answered the question or poll then the video is automatically unpaused.
Seconds after vote to resume video: This is the number of seconds after the user has answered thr question/poll to resume the video, it is recommend you let the user see the option they choose for a second or two before resuming.
Fine-tune delay on publish: If you want the Element to appear at a more precise time on the video timeline you can add a delay here. The standard and simplified Element publishing works on whole seconds, if you want to publish an Element 3 minutes and 3.5 seconds into the video you can publish the Element at 00:03:03 and then add 500 milliseconds to this field.
Alert banner duration and fixed duration: This controls how long the alert banner stays expanded from the TouchBug
Animations: The Touchbug can be configured to animate slightly so the user is enticed to tap on it, this controls if that is enabled or not.
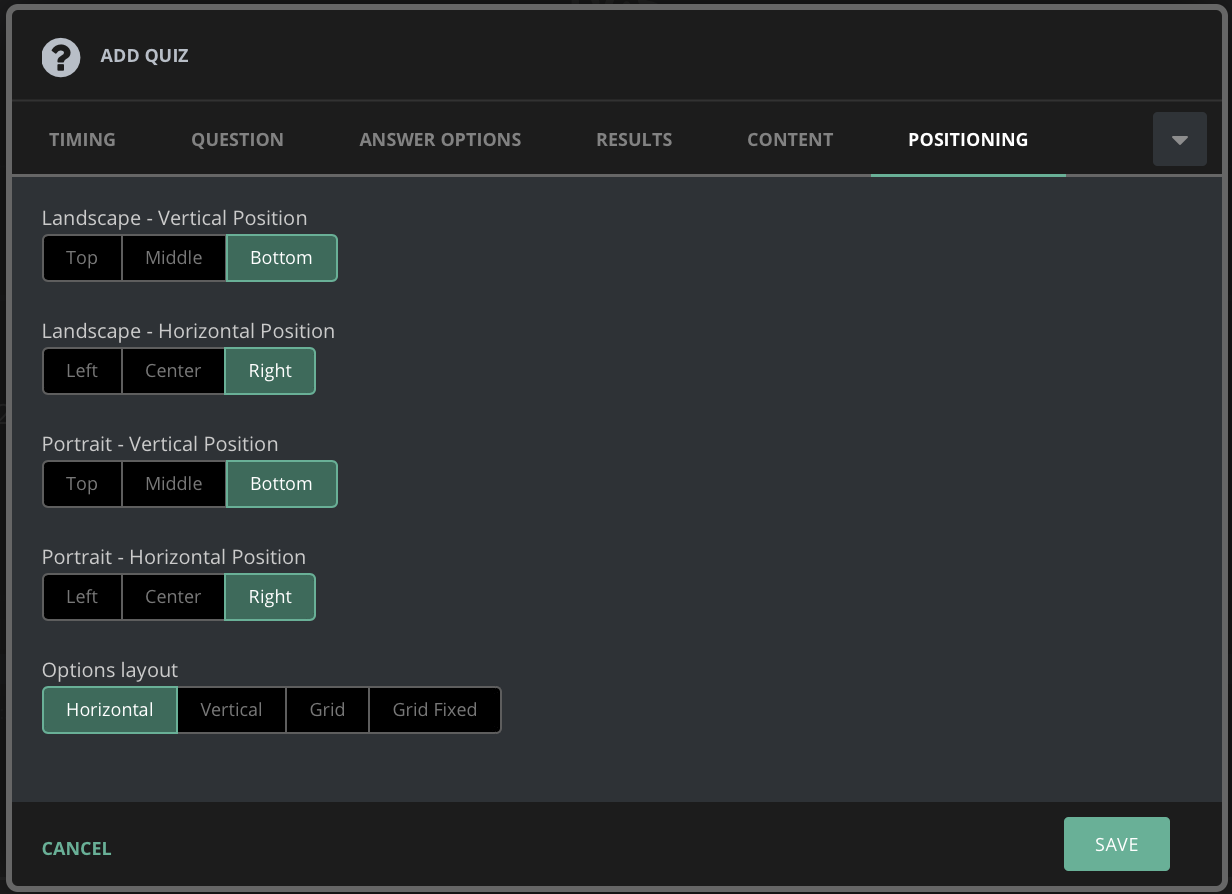
Positioning your Element for all UI modes
Using these options you can position your Element wherever you want in relation to your video while it is using Over mode. This can be configured differently for Landscape watching and Portrait watching.
The options layout settings dictate how the answer options are laid out for questions and polls.
Horizontal - This will lay out the options beside each other in a row
Vertical - This will stack the options on top of each other
Grid - This will use a row and column system to display the options in rows of 2
Grid Fixed - On small devices where space is at a premium the Grid option above will be adjusted to fit the space better, Grid Fixed prevents this from happening and ensures the options are laid out in 2 rows of 2.
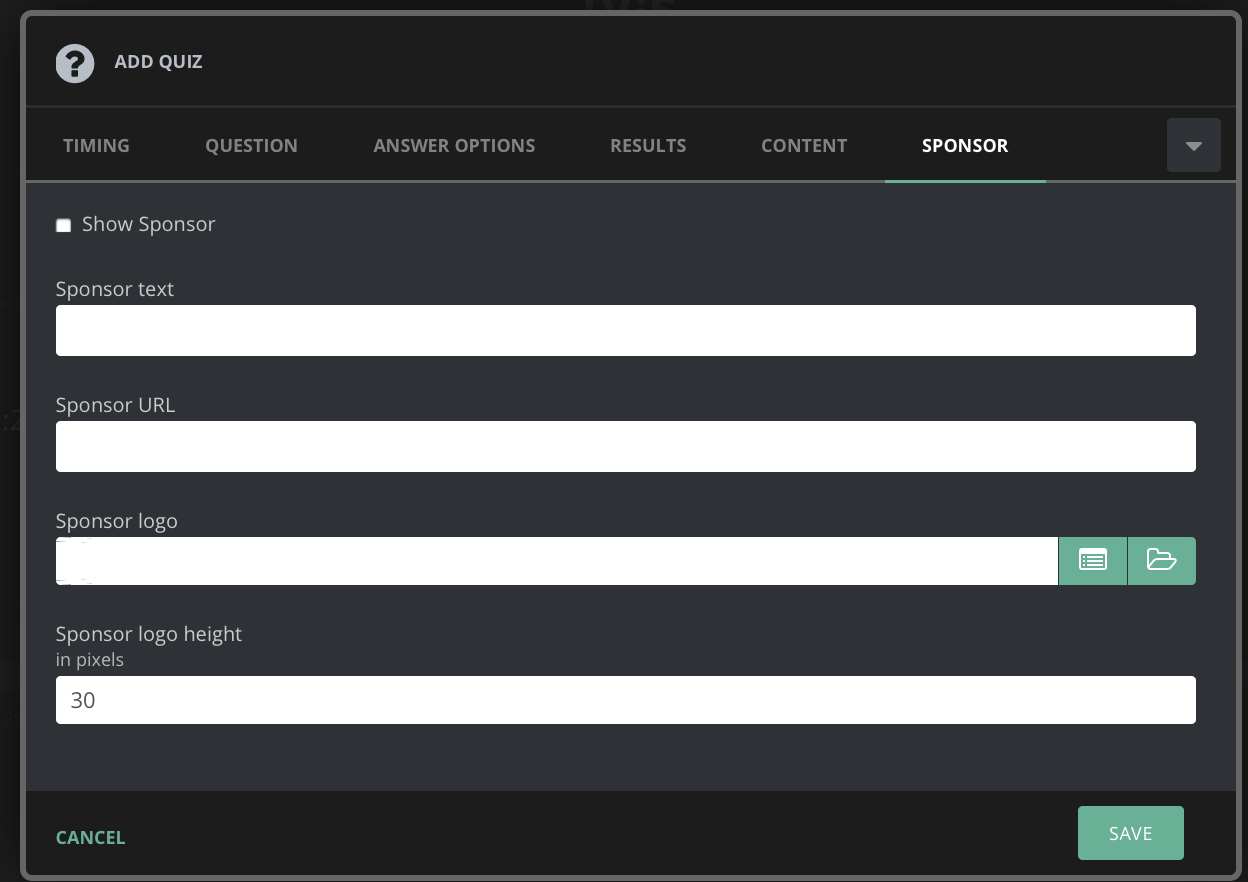
Adverts and Sponsor options
You can add an Element sponsor which will sit below the Element and when tapped can take the user to the sponsors website.
Last updated